I used an
eco-shopping bag like in this picture as a guide to the measurements of my bag.


SHOPPING BAG

Materials used:-
7 balls in
main colour of Moda Vera Beetle Yarn (I used the Confetti variegated as pictured
in the foreground)
1 ball of
contrasting yarn (I used yellow which was one of the colours in the variegated
yarn)

This is a
50% cotton 50% acrylic yarn very soft and nice to work with.
4 D-Link
buckles
Piece of
rope to the length you want for the handles
Piece of
strong cardboard for the base lining
Yellow
scrap material to cover the cardboard base
Fishing Line
0.28mm I used this to sew on the
buckles.
Abbreviations:-
DC (English/Australian) SC American
INSTRUCTIONS
Front Panel
Using a 5.00
ml hook Chain 49
Change to
4.00 ml hook
1st
row DC into 2nd chain from hook.
Continue DC to end of row.
2nd row turn chain 1. DC in first DC stitch continue DC to end of
row.
Repeat
until there is a total of 60 rows of DC.
Back Panel
Side 1
5.00ml hook
Chain 31
Change to
4.00ml hook
1st
row DC into 2nd chain from hook.
Continue DC to end of row.
2nd
row turn chain 1. DC in first DC stitch
continue DC to end of row.
Repeat
until there is a total of 60 rows of DC.
Side 2
Same as 1st
side as above
Base
Using a
5.00 ml hook Chain 49
Change to
4.00 ml hook
1st row DC
into 2nd chain from hook. Continue DC to
end of row.
2nd row turn chain 1. DC in first DC stitch continue DC to end of
row.
Repeat
until there is a total of 30 rows.
Finshing Off
Weave in
any ends on all the panels. Pin seams
together.
Working with the
contrasting yarn working on 2 pieces to be joined
together
Joining together Using Double Crochet (Single Crochet American)
Wrong sides
together for an outside seam.
Line up
your pieces so the edges and patterns match.
Work seams
just like a regular crochet row, from right to left.
Start by
pushing your hook from front to back through both layers of the right hand
corner chain space of your granny square (under the usual 'v' shape of the
chains). Yarn over hook, then pull your hook back through to the front of your
work. Make sure you don't lose the tail of yarn - hold onto it behind your
work. Yarn over again and pull that new yarn over through both loops.
Now,
holding your loose end along the top of your work push your hook through the
next 2 stitches (under the 'v' of the square in front and the second square
too). Yarn over and pull back through to the front of your work. Yarn over
again and pull that new yarn over through both loops and you're making a single
crochet seam. Your loose end will be hidden as you work your single crochet
seam.
Continue
working along the row until your 2 pieces are completely joined. Break your
yarn and pull the end through the last loop to finish off.
Top edge
I used a
bobble edging following the instructions here. However you could do a simple
shell edging or whatever edging you prefer.
The Handles
I used
these instructions to help make some nice strong handles for my bag.
Base Lining
Cover a
piece of cardboard with some material using craft glue.
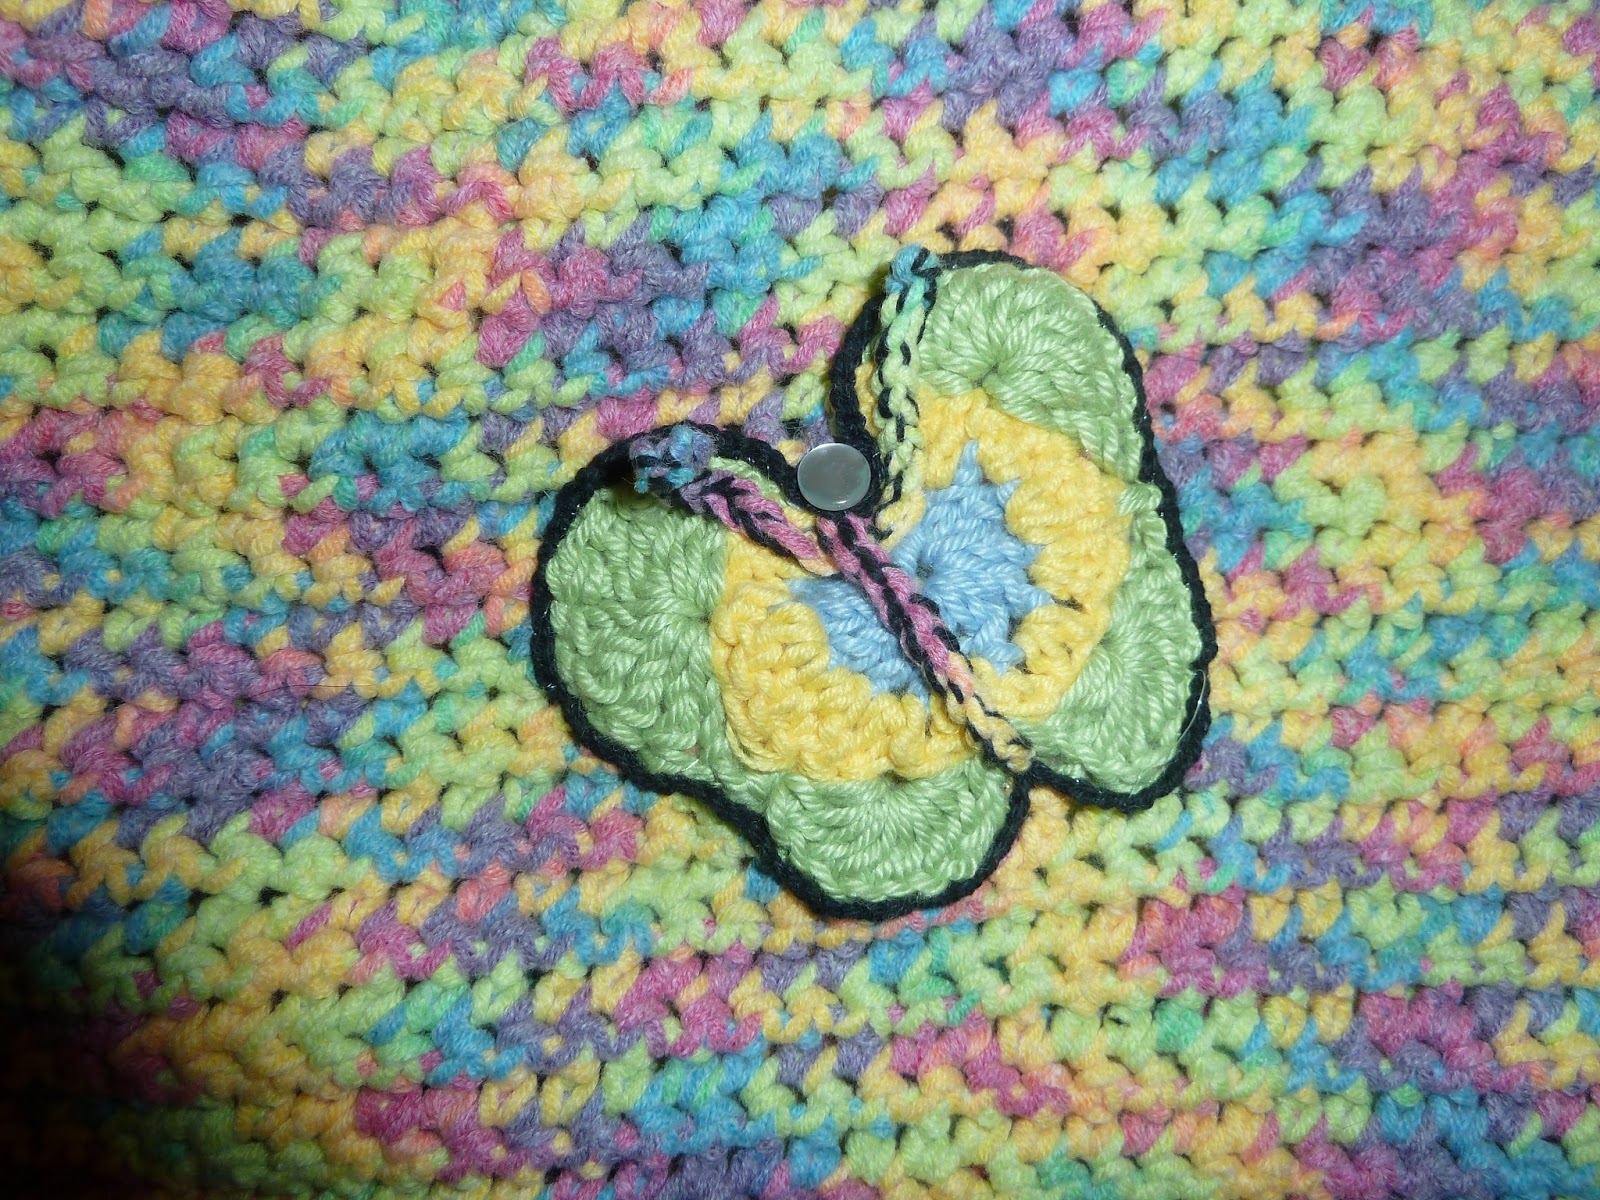
For a final finishing touch I did a crocheted butterfly but you could add a flower, owl or anything. Lots of free appliqued patterns on the Internet.
For a final finishing touch I did a crocheted butterfly but you could add a flower, owl or anything. Lots of free appliqued patterns on the Internet.

I changed the butterfly as I thought it did not stand out much...so I used some black 4 ply cotton in chain stitch to outlined it.
3rd May, 2015
As I sold my first bag. I made a second bag with a couple of differences.
In assembling the pieces together I used single crochet method as in the tutorial video clip here:- https://www.youtube.com/watch?v=DUe7rGpHXhc
I put the D Link buckles on the outside this time with some 4 tags I crocheted using left over Modra Vera Beetle coffetti yarn.
As follows:-
Using 3.50 hook Chain 9
1 DC into second chain from hook to the end of the row.
Repeat until 12 rows finish off.
Make 4
Attach to the bag either with a running stitch or DC.
I did the cardboard base this time rather than material I crocheted 2 more base pieces the same as above. Using DC to Join them together to cover the cardboard.

The second Bag
Any questions
feel free to contact me. chrissy.matthews@gmail.com
No comments:
Post a Comment